Introduction to ghost CMS
Ghost is a content management system that allows users to build a blog websites like wordPress and other CMS technologies.
why ghost instead of wordPress?
Ghost is purely a blogging platform, and it is meant to be used only for blogs.
ghost handles SEO setting in the core itself and because of that, ghost USB
is minimalism, so ghost websites have better SEO and performance at all.
ghost uses node.js engine in background that leads to higher speed and performance of ghost blogging websites.
how to install ghost-cli and ghost locally?
First of all, you need to node.js to work with ghost command line. if you don`t have installed node in your system, you can download and install it from node official website(https://nodejs.org/en/).
I recommend you to open a new project in empty folder in your system to work with ghost and ghost commands using vs-code or another code editors. im using vs-code to work with ghost locally.
Now, it is time to install ghost-cli. open new terminal in your vs-code and run below command:
npm install ghost-cli@latest
if you want install it globally, you can use -g option. like this:
npm install ghost-cli@latest -g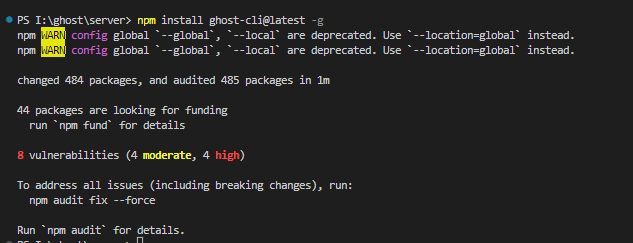
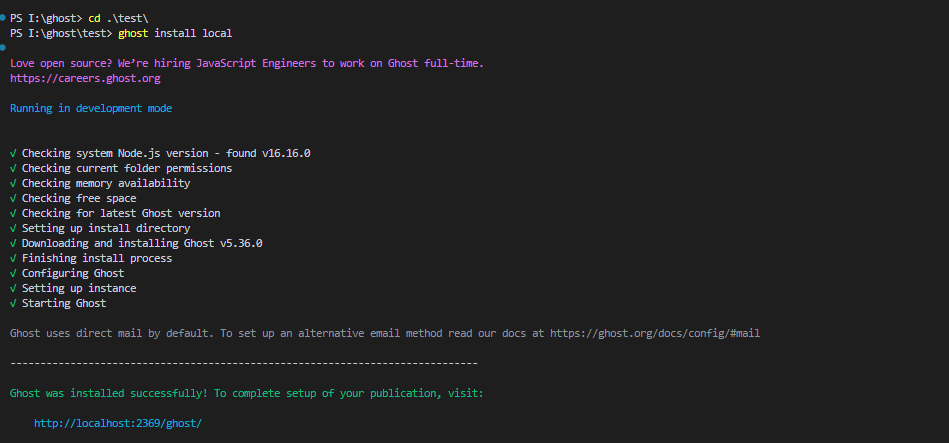
After install ghost-cli you can use ghost commands to create initial ghost project on your local system. in your current directory, run this command to create initial ghost project :
ghost install localNow, you have ghost CMS run on your local server and you see this link in your terminal:
If we follow this link, we should see this default ghost page:
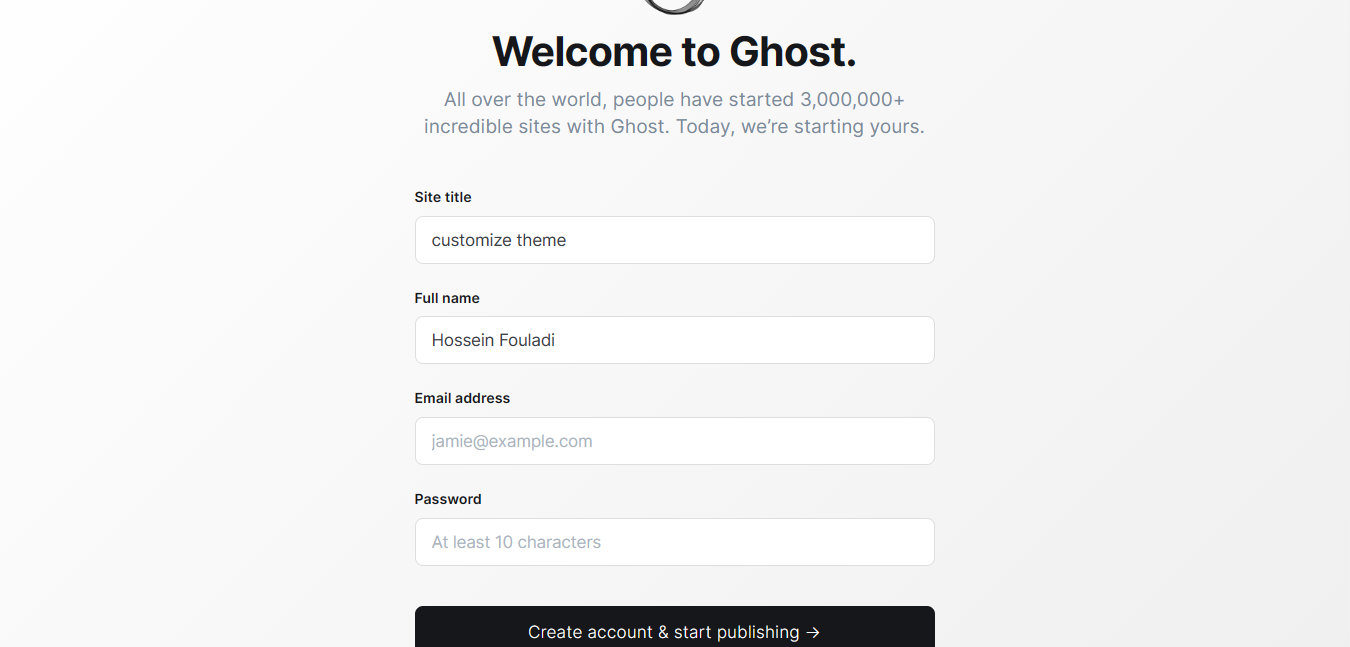
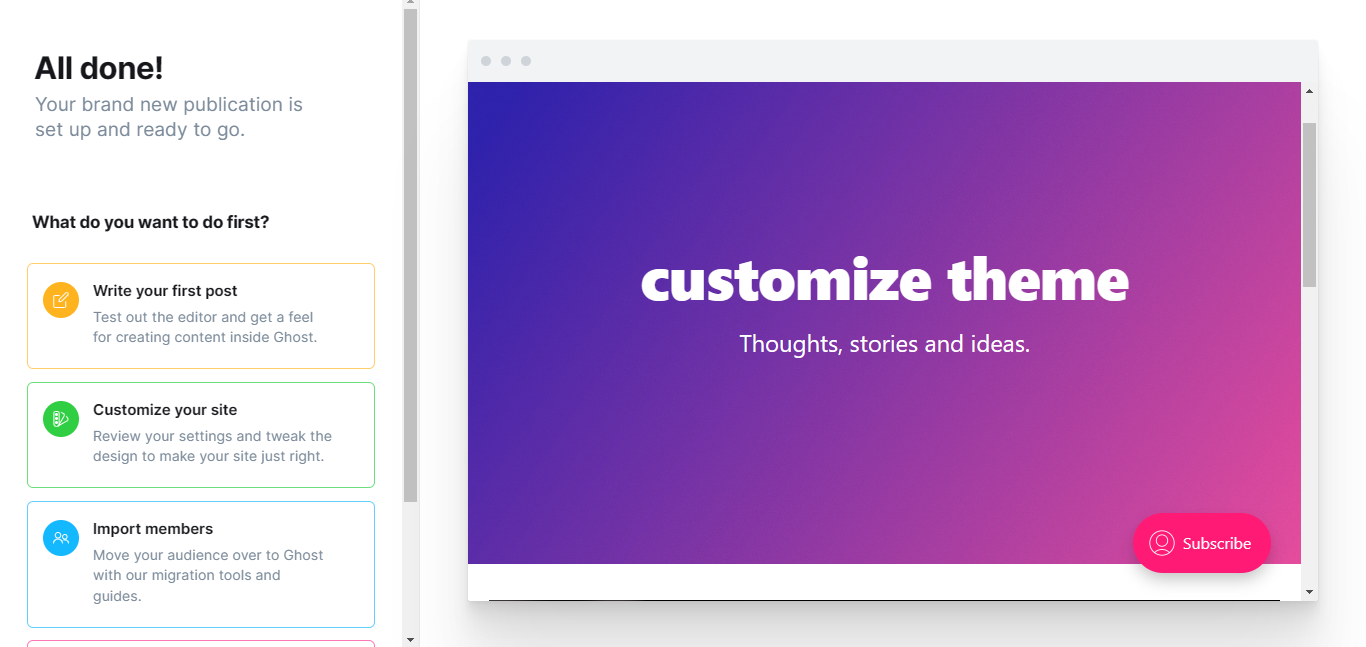
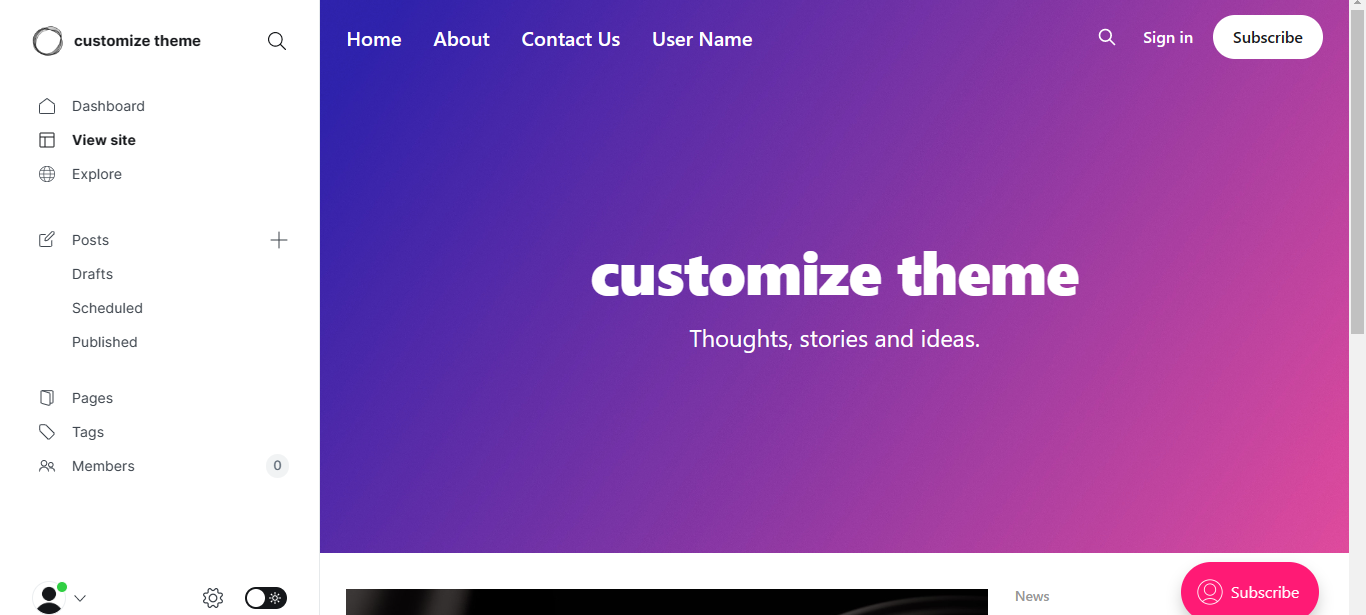
After filling blank fields such as Site title and Full name, you can see your ghost website like below picture:
Project structure:
Let`s look at project folders and directories in brief.
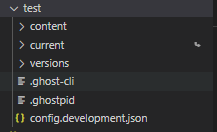
We mostly work with content folder . in the content folder, we have theme directory that has several hbs files and assets and partial folder.
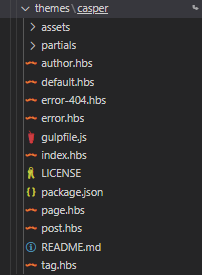
Unlike to index.html in convention, default.hbs is root of our view
engine of our ghost cms and other hbs files are imported into default.
hbs with certain syntax.
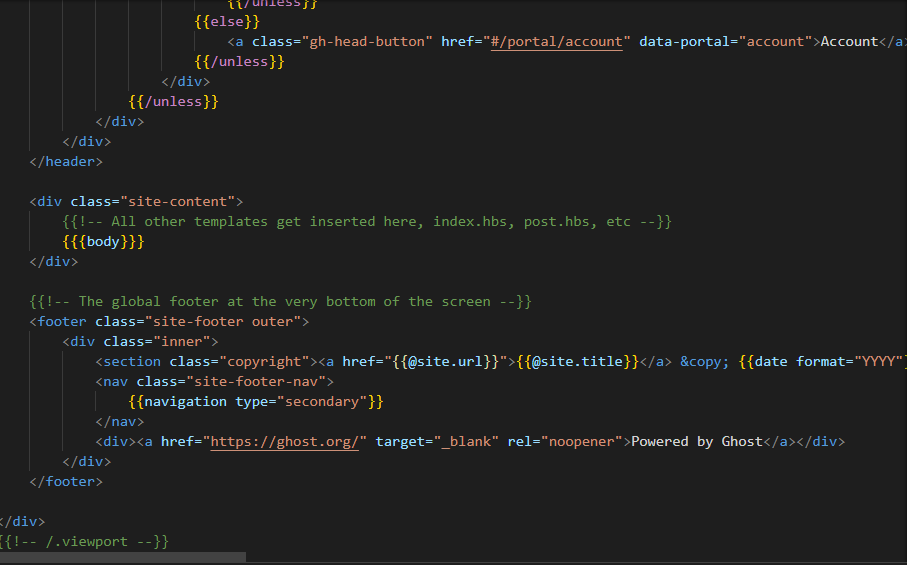
if we look at default.hbs file, we see {{{body}}} expression inside a div that has
'site-contant' class name. it means other templates such as index.hbs,post.hbs and ..., get inserted default.hbs file. all other files must have {{!< default}} in top of own files to be inserted inside default.hbs .
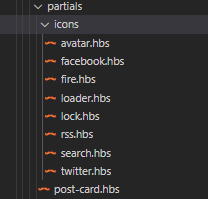
partial folder holds all components of theme like post-cards and any custom template.
assets folder contains css files and static files like images.
Customize our themes
First of all, if you are not familiar with Handlebar markup language, I recommend you to visit handlebar official website and read it document using this link : https://handlebarsjs.com/
lets move our website header to seperate hbs file and customize it and import it to default.hbs. we cut below code from default.hbs and move it to header.hbs file located at partial directory and then import header template into default using {{> header}} syntax:
<header id="gh-head" class="gh-head outer{{#match @custom.header_style "Hidden"}} is-header-hidden{{/match}}">
    <div class="gh-head-inner inner">
        <div class="gh-head-brand">
            <a class="gh-head-logo{{#unless @site.logo}} no-image{{/unless}}" href="{{@site.url}}">
                {{#if @site.logo}}
                    <img src="{{@site.logo}}" alt="{{@site.title}}">
                {{else}}
                    {{@site.title}}
                {{/if}}
            </a>
            <button class="gh-search gh-icon-btn" data-ghost-search>{{> "icons/search"}}</button>
            <button class="gh-burger"></button>
        </div>

        <nav class="gh-head-menu">
            {{navigation}}
            {{#unless @site.members_enabled}}
                {{#match @custom.navigation_layout "Stacked"}}
                    <button class="gh-search gh-icon-btn" data-ghost-search>{{> "icons/search"}}</button>
                {{/match}}
            {{/unless}}
        </nav>

        <div class="gh-head-actions">
            {{#unless @site.members_enabled}}
                {{^match @custom.navigation_layout "Stacked"}}
                    <button class="gh-search gh-icon-btn" data-ghost-search>{{> "icons/search"}}</button>
                {{/match}}
            {{else}}
                <button class="gh-search gh-icon-btn" data-ghost-search>{{> "icons/search"}}</button>
                <div class="gh-head-members">
                    {{#unless @member}}
                        {{#unless @site.members_invite_only}}
                            <a class="gh-head-link" href="#/portal/signin" data-portal="signin">Sign in</a>
                            <a class="gh-head-button" href="#/portal/signup" data-portal="signup">Subscribe</a>
                        {{else}}
                            <a class="gh-head-button" href="#/portal/signin" data-portal="signin">Sign in</a>
                        {{/unless}}
                    {{else}}
                        <a class="gh-head-button" href="#/portal/account" data-portal="account">Account</a>
                    {{/unless}}
                </div>
            {{/unless}}
        </div>
    </div>
</header>
lets add a new item to header menu and increase font sizes of menus. for this purpose first we change css link from href="{{asset "built/screen.css"}}" to href="{{asset "css/screen.css"}} in line 14 of default.hbs file because we cant customize built css. for adding new item to menu, we should override navigation.
therefore we create new file and we must name it to navigation.hbs to override menu items and then add li tags to create menus .like this :

for changing font-size of menus , we add font-size property to ' gh-head-menu' class because our nav markup has this class:
            <nav class="gh-head-menu">
                {{navigation}}
                {{#unless @site.members_enabled}}
                    {{#match @custom.navigation_layout "Stacked"}}
                        <button class="gh-search gh-icon-btn" data-ghost-search>{{> "icons/search"}}</button>
                    {{/match}}
                {{/unless}}
            </nav>
.is-head-left-logo.home-template .gh-head:not(.is-header-hidden) .gh-head-menu {
margin-left: -40px;
font-size: 20px;
}you show result of changes that we did:
Maybe, you see @site, @custom,@post,... syntax inside templates and you dont know what this are and what do for us. actually, this data comes from ghost api written by ghost developers team and accessible in entire template files of project. you can see all content API in ghost official website using this link: https://ghost.org/docs/themes/helpers/
Conclusion
In this article we learned how to install ghost CMS and customize its themes. I think, ghost has bright future among CMS technologies, because it provides easy customization and high performance.