How to install KeyCloak using Docker


Authentication is a key module of every project. If you are working on a large scale project that requires complicated scenarios for authenticating users, you should take a lot of time to plan, design, and develop an authentication module that is stable. Having multiple services that use the same users complicates things. Here SSO (Single Sign On) comes into play. SSO can manage your services and users.
What is SSO(Single Sign-on)?
Single sign-on (SSO) is a session and user authentication service that permits a user to use one set of login credentials. SSO is an authentication method that enables users to securely authenticate with multiple applications and websites using just one set of credentials. There are multiple paid and free open-source services that implement SSO listed below.
- KeyCloak
- Okta
- Authelia
- OneLogin
- Azure Active Directory
- and so on ...
As we discussed previously, Keycloack is a free, comprehensive, open-source, and powerful tool.
What is KeyCloack?
Keycloak is an open-source application that implements SSO written with Java. The first production release of Keycloak was in September 2014, with development having started about a year earlier. In 2016 Red Hat switched the RH SSO product from being based on the PicketLink framework to being based on the Keycloak upstream Project. This followed a merging of the PicketLink code-base into Keycloak.
Install Docker
You can install docker and docker-compose by going to docker official website.
https://docs.docker.com/engine/install/
Install Keycloack
For installing keycloak you need to create a file that named docker-compose.yml.
Paste below block in your file.
version: "3.9"

services:
  postgres:
    image: postgres:14-alpine
    restart: unless-stopped
    environment:
      POSTGRES_DB: ${POSTGRESQL_DB}
      POSTGRES_USER: ${POSTGRESQL_USER}
      POSTGRES_PASSWORD: ${POSTGRESQL_PASS}
    volumes:
      - keycloak_data:/var/lib/postgresql/data
    networks:
      - keycloak

  keycloak:
    depends_on:
      - postgres
    ports:
      - ${PORT_KEYCLOAK}:8080
    command:
      - start-dev
      - "--proxy=edge"
      - "--hostname=${VIRTUAL_HOST}"
      - "--db-password=${POSTGRESQL_PASS}"
      - "--db-username=${POSTGRESQL_USER}"
      - "--db-url-database=${POSTGRESQL_DB}"
      - "--db-url-host=postgres"
      - "--db=postgres"
    environment:
      - KEYCLOAK_ADMIN=${KEYCLOAK_ADMIN}
      - KEYCLOAK_ADMIN_PASSWORD=${KEYCLOAK_ADMIN_PASSWORD}
    image: quay.io/keycloak/keycloak:${KEYCLOAK_VERSION}
    restart: unless-stopped
    logging:
      # limit logs retained on host to 25MB
      driver: "json-file"
      options:
        max-size: "500k"
        max-file: "50"
    networks:
      - keycloak

volumes:
  keycloak_data:
networks:
  keycloak:
docker-compose.yml
In this file you create 2 container, one for Keycloak and one for PostgreSQL database. also you need to create an .env file for your environment. Change these variables to your own varibles.
KEYCLOAK_VERSION=20.0.3
PORT_KEYCLOAK=8080
POSTGRESQL_USER=keycloak
POSTGRESQL_PASS=keycloak
POSTGRESQL_DB=keycloak
VIRTUAL_HOST=localhost
KEYCLOAK_ADMIN_PASSWORD=admin
KEYCLOAK_ADMIN=admin
.env
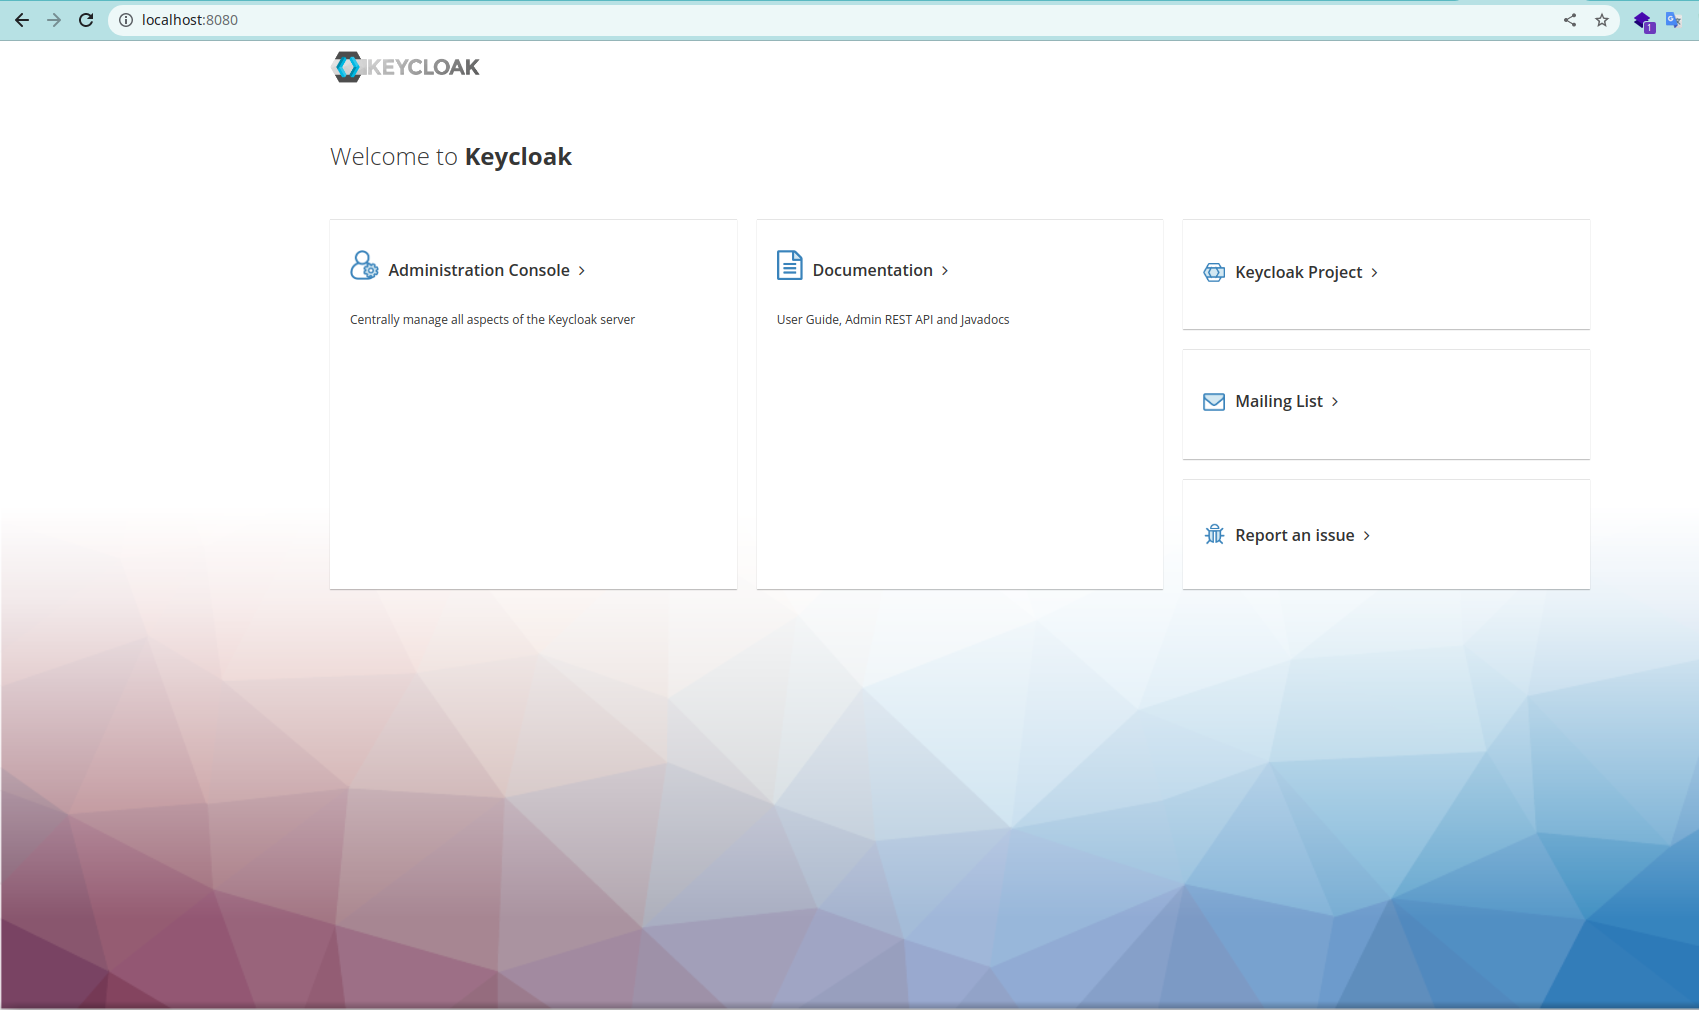
Save file and run docker compose up -d in your terminal. Wait seconds and open http://localhost:8080/ in your browser. you will see this page.
Conclusion
In this article we learned what is the SSO and how we can setup one for ourselves. Pay attention this setup is not suitable for production use! in next articles we 'll learn how to get ready keycloak for production use. If you have any idea/question, ask me here or in my social page.